AYO Production/Shutterstock
We may receive a commission on purchases made from links.
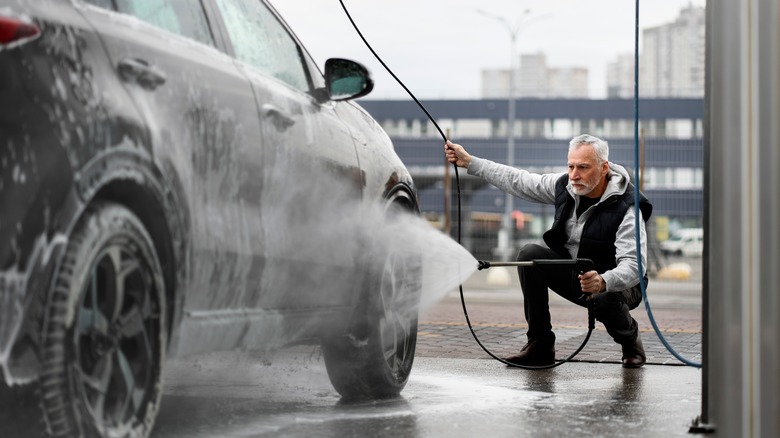
Taking your car or truck off-roading is thrilling, but the aftermath can be quite daunting. Mud, dirt, and grime end up in every nook and cranny, which leaves your vehicle looking like it has been through a mud wrestling match. Don’t worry — getting your ride back to its clean, shiny self isn’t as tough as it might seem. With the right approach and tools, you can make your car or truck look as good as new. There’s a car cleaning lifehack you’ll want to know that will make this whole process easier than you ever imagined.
Treat this guide as your go-to resource for tackling the post off-roading cleanup. We will cover everything from the initial rinse to those often neglected areas that collect the most gunk. This process isn’t just about aesthetics. It is also about keeping your vehicle in great shape and preventing potential damage from the muck and mud.
Seeing your car or truck gleaming again is a satisfying sight, and it doesn’t require a professional detailer to achieve it. You’ll find that with a bit of elbow grease and the right technique, you can easily handle this task yourself. Grab your cleaning supplies, roll up your sleeves, and let’s get started on transforming your off-road beast back into a beauty.
Gather your supplies
New Africa/Shutterstock
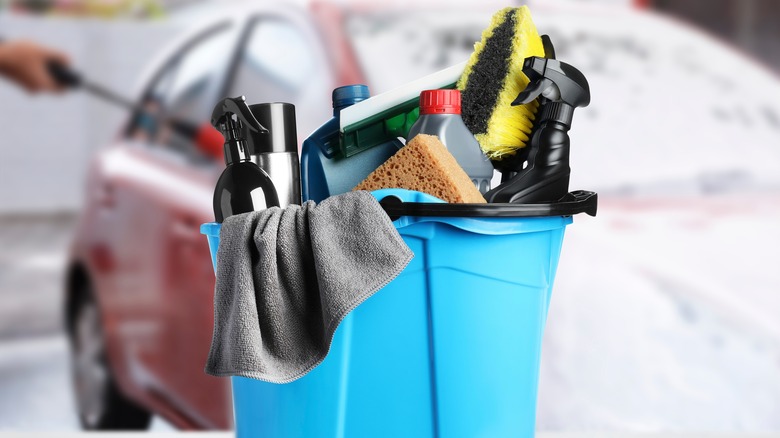
Before you start the cleaning process, gather all the supplies you will need. This will make the task much more manageable and save you from unnecessary interruptions. Here’s a quick rundown of what you should have on hand.
Start with a pressure washer or a garden hose with a strong nozzle. If you’re dealing with tough undercarriage grime, consider an undercarriage pressure washer as well. Next, have at least two buckets: one for soapy water and another for rinsing. For car shampoo, you might consider using something like Mr. Pink Foaming Car Wash Soap. It is also important to have soft sponges and brushes — just make sure the brushes aren’t too stiff to avoid scratching the paint.
For cleaning the wheels, a product like Adam’s Polishes Wheel & Tire Cleaner can be very effective. You should also have microfiber towels on hand for drying and detailing. A dryer, like a small handheld blower, can help remove water from crevices. Next, gather your interior cleaning supplies, which should include a vacuum cleaner and a massage gun. Lastly, don’t forget to wear protective gear such as gloves, a mask, and safety goggles to keep yourself safe from any chemicals or debris.
Getting your supplies together beforehand sets the stage for an efficient and effective cleaning session. Put together your gear, and you’ll be ready to tackle the job head on.
Pre-rinse
Eugene Nekrasov/Getty Images
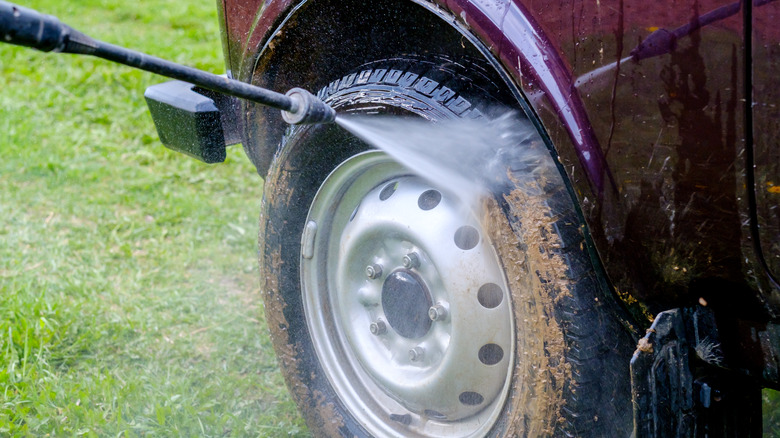
To keep your vehicle in top shape after an off-road adventure, start with a thorough pre-rinse. Use a pressure washer or a garden hose fitted with a strong nozzle. It helps to loosen and remove the bulk of the dirt and mud that have accumulated from your off-road adventures.
Start by rinsing the entire vehicle from top to bottom. Pay special attention to the undercarriage, where mud and debris tend to collect the most. The wheel wells are another important area to hit. Don’t forget the roof and any roof racks or accessories. These areas can collect just as much dirt as the lower parts of your vehicle, especially if you have been driving through muddy or dusty environments.
Move the spray in a sweeping motion, and don’t rush. The more dirt you can remove in the pre-rinse, the less effort you’ll need later. Check areas like the front grille and bumper for bugs and other debris that might require a bit more attention. You might need to go over these spots a couple of times to ensure they are thoroughly cleaned.
Clean the wheels and undercarriage
TuktaBaby/Shutterstock
Once you’ve given your vehicle a thorough pre-rinse, it is time to focus on cleaning the wheels and undercarriage. These areas tend to collect the most mud and grime during your off-road escapades.
Start with the wheels. They take a beating on rough trails, collecting dirt, brake dust, and all sorts of debris. Spray a specialized wheel cleaner generously on each wheel. Let it sit for a few minutes to break down the grime. Then, use a brush to scrub the wheels. Make sure to get into the nooks and crannies, spokes, and around the lug nuts. If the wheels are particularly dirty, a second application of cleaner might be necessary.
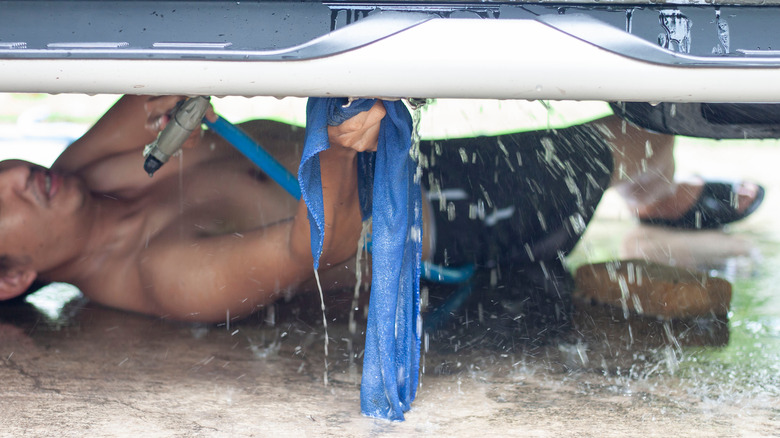
Next, clean your car’s undercarriage. This area is where mud, rocks, and even road salt can accumulate, which leads to rust and other issues if not properly cleaned. Using an undercarriage pressure washer (example: Ridge Washer Undercarriage Cleaner) is the best way to tackle the undercarriage because it can reach difficult areas and remove built-up grime effectively. Move the washer back and forth slowly to cover the entire undercarriage — especially areas that are hard to reach. You might need to repeat this process a few times, depending on how dirty the undercarriage is. The process is thorough and designed to ensure that every part of the undercarriage is cleaned without the need for manual intervention.
Wash the exterior body
V.iann/Shutterstock
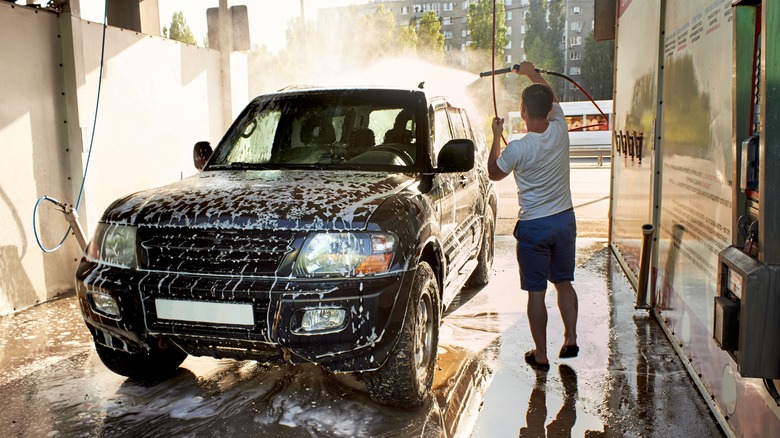
Now that your wheels and undercarriage are clean, it is time for the exterior body of your rig. Start by choosing the right car wash soaps for the job. Avoid using household cleaners, as they can strip away your vehicle’s protective wax and damage the paint.
Fill a bucket with water and add the car wash soap according to the instructions on the bottle. Use a second bucket filled with clean water to rinse your sponge or mitt. This two-bucket method helps keep the soap water clean and prevents dirt from being rubbed back onto the car. Begin washing from the top of the vehicle and work your way down. Focus on one section at a time, such as the roof, then move to the hood, doors, and so on. Don’t forget areas that are more likely to collect dirt, such as around the windows, door handles and lower panels. Avoid using excessive pressure when scrubbing, as this can cause scratches — especially if there’s still some grit on the surface.
A good tip is to rinse each section with a hose or pressure washer before moving on to the next. This prevents soap from drying on the car, which can leave streaks and spots. Make sure to rinse from the top down to help carry away any remaining dirt and soap — setting the stage for a thorough rinse and drying process next.
Rinse thoroughly and dry the vehicle
Energyy/Getty Images
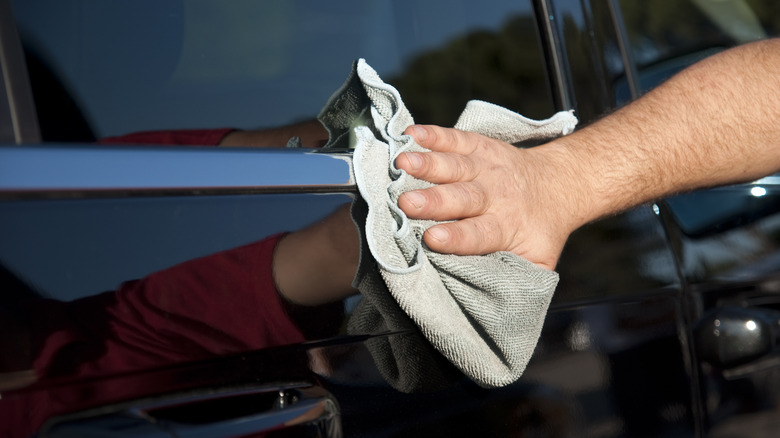
After washing the exterior of your vehicle, the next step is to rinse thoroughly and dry it properly to ensure removal of all soap residues and any remaining dirt. Your vehicle will become spotless and the risk of water spots greatly reduces.
Start by rinsing the entire vehicle from top to bottom. Focus on the windows, door handles and trim where soap can sometimes get trapped. Rinse thoroughly under the car and around the wheels to make sure all mud and soap are washed away. Next, it is time to dry your vehicle. Drying is often overlooked, but it is an important step to prevent water spots and streaks. Use a large, clean microfiber towel to gently pat the surface dry. Start at the top and work your way down — just like with rinsing and washing. Make sure to dry off the roof, hood and trunk before moving to the sides. Then, move to the lower panels. Take care to dry around the door frames and mirrors. Open the doors and trunk to dry the inner edges and seals as well.
Pro tip: To speed up the drying process and ensure a streak-free finish, you can use a leaf blower or a dedicated car dryer (example: ProBlow High Flow Professional Handheld Dryer). These tools blow water out of hard-to-reach places and are especially useful for drying areas like grills and around badges. Just be sure to use them at a safe distance to avoid damaging the paint.
Clean the interior
jittawit21/Shutterstock
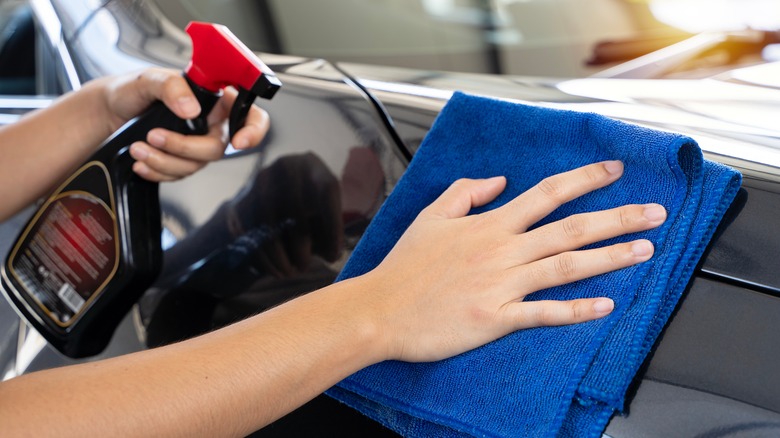
Off-roading can bring a lot of dirt and debris inside your vehicle, so cleaning the interior properly is essential. Start by removing all trash and personal items from the cabin. Take out floor mats and give them a good shake to get rid of loose dirt. You might need to vacuum them or even wash them separately if they’re particularly dirty.
For cloth seats, use a vacuum to remove loose dirt. For leather seats, a slightly damp microfiber cloth works well to wipe away dust and grime. If your seats are particularly dirty, a specialized cleaner for fabric or leather can help lift stubborn stains. Don’t forget to vacuum the trunk area as well — especially if you’ve been hauling gear and supplies. Next, use a mild cleaner to wipe down all surfaces, including windows and mirrors. For leather surfaces, a dedicated leather cleaner and conditioner will help keep the material supple and prevent cracking. Make sure to clean the steering wheel, gear shift, and other frequently touched areas where oils tend to build up.
Lifehack: To get your car’s interior extra clean, consider using a massage gun on your seats. This lifehack helps dislodge dirt and dust trapped deep in the fabric or cushioning. Simply run the massage gun over the surface of the seats, and then vacuum up the loosened debris.
Clean your gear
After an off-road adventure, it is quite possible that your gear likely took a beating, too. Cleaning your gear will ensure it lasts longer and is ready for your next trip. First, gather all the gear you used, from tents and sleeping bags to shovels and jacks. Start by giving everything a good shake to remove loose dirt and debris. If your gear is machine washable, go ahead and wash it according to the manufacturer’s instructions. For non-washable items, a gentle wipe-down with a damp cloth and mild soap will do the trick.
To clean your power tools, start by unplugging or removing batteries to ensure safety. Use a brush or compressed air to remove dirt from the surface and vents, then wipe down the tools with a damp cloth to remove any grime or mud. Be sure to dry them thoroughly to prevent rust. For any tools with joints or moving parts, a bit of lubrication after cleaning can keep them operating smoothly.
For metal gear like shovels, jacks, and recovery boards, start by rinsing off the heavy dirt with a hose. Scrub any stubborn spots with a stiff brush and soapy water. Rinse thoroughly and dry them to avoid rust. If you notice any rust spots, a quick scrub with a wire brush should take care of them. We recommend applying a light coat of oil (such as Sta-Bil Rust Stopper), which can help protect the metal from future rust.
Tips for easier cleaning the next time
Daniel Jedzura/Shutterstock
Now that your rig is spotless and your gear is ready for the next adventure, it’s a good time to think about how to make the cleaning process easier in the future. A few smart practices can save you time and effort next time you hit the trails.
First, let’s talk about some mistakes to avoid when cleaning your vehicle. One big mistake is letting mud and grime sit on your vehicle for too long. The longer dirt and debris are left on your car, the harder they are to remove. They can also lead to scratches and even rust. Another mistake is using household cleaners on your car’s exterior. These can strip away protective wax and damage the paint. Stick to car-specific cleaners and soaps to keep your vehicle looking great.
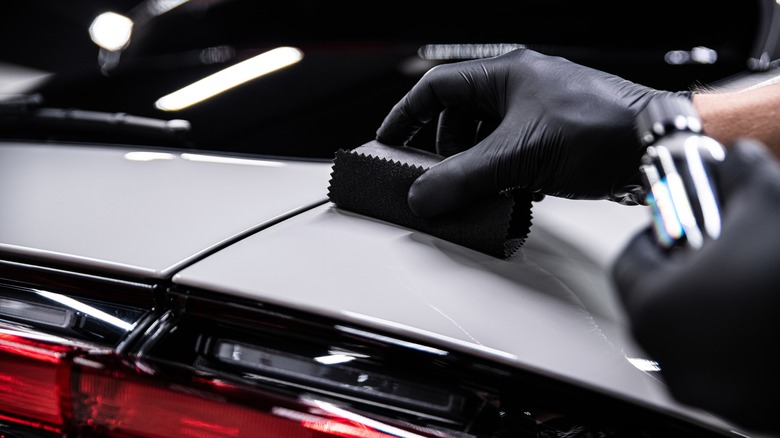
Consider applying a protective coating to your vehicle to make cleaning easier. Products like wax or ceramic coatings create a barrier that helps repel dirt and makes it easier to wash off grime. You can also invest in mud flaps and weather-resistant floor mats. Another good tip we recommend is to have your cleaning supplies organized and ready to go. This makes the job quicker and ensures you don’t forget any important tools. After each adventure, do a quick clean-up rather than waiting for dirt to build up. This habit will make each subsequent cleaning session easier and less time-consuming.